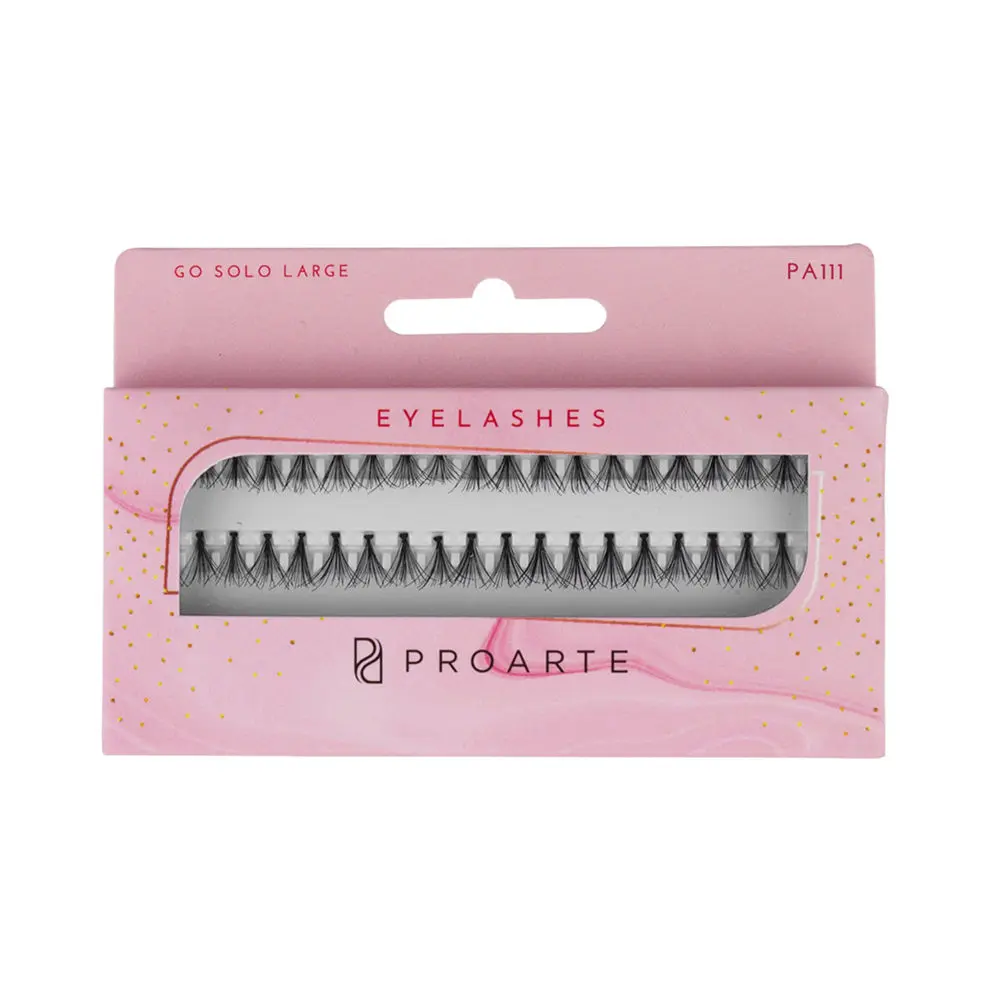
PROARTE
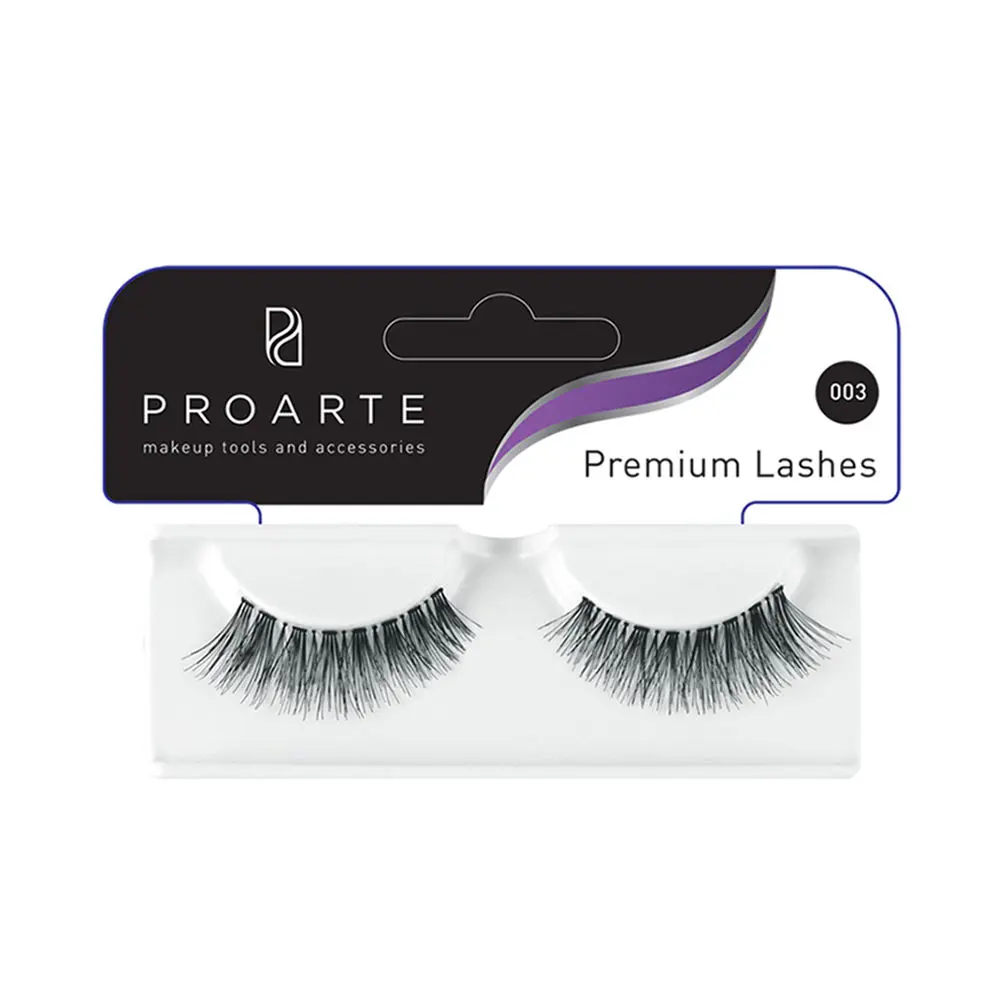
proarte Premium Eye Lashes (003)
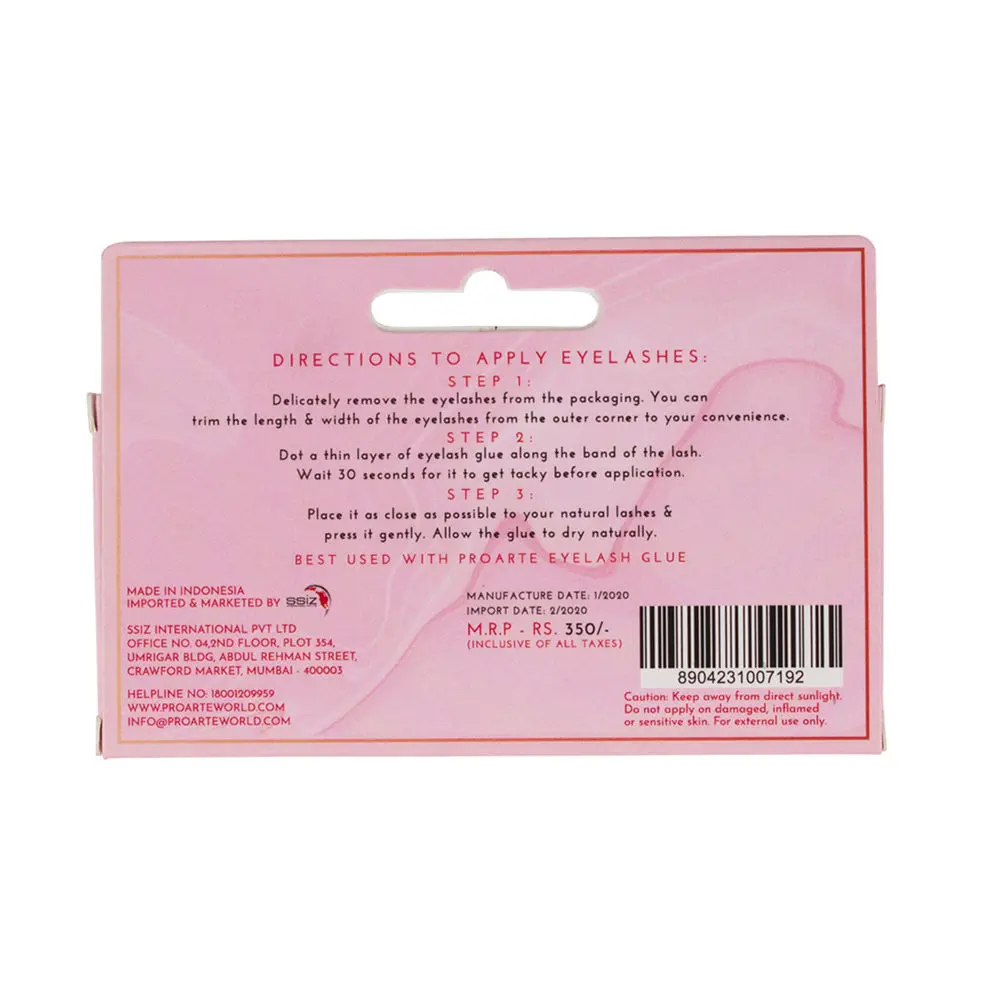
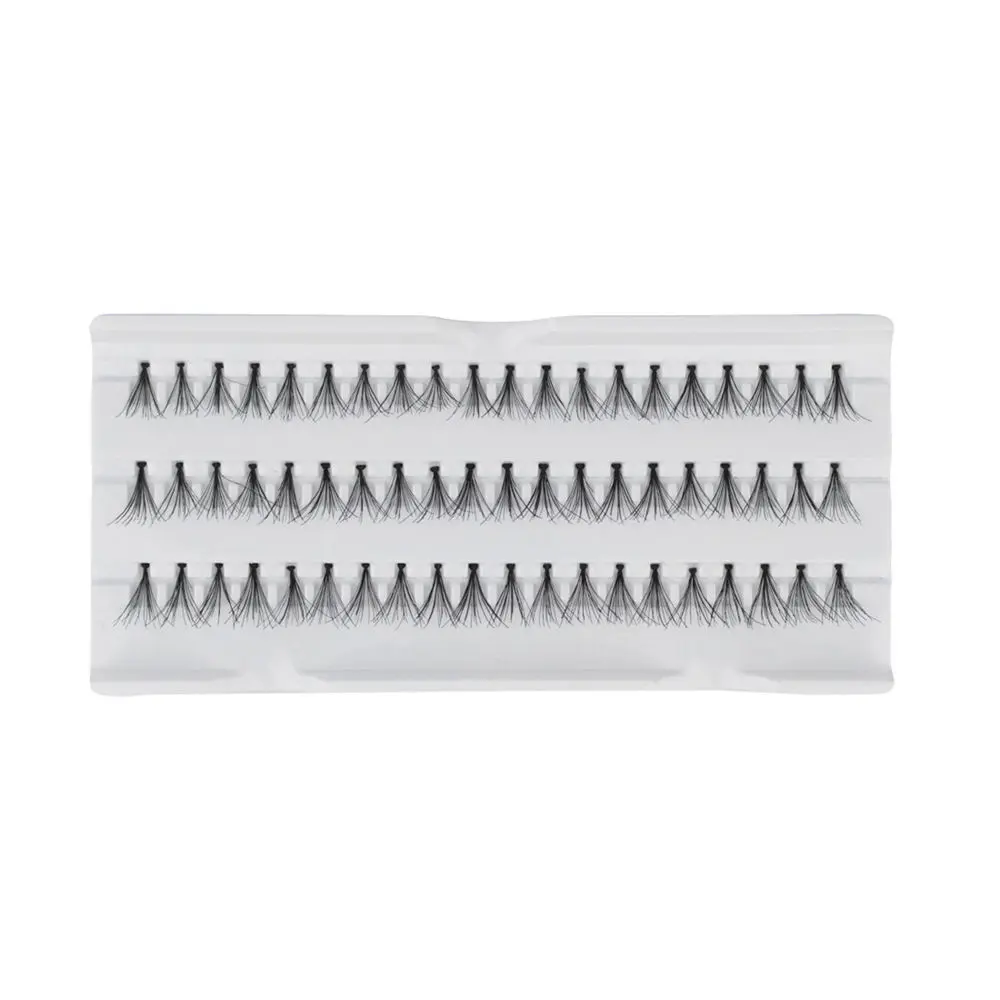
DescriptionGently fix band.Align band with natural lash line, if lashes extend beyond your own, trim excess from outside corner, a few hair at a time.Apply: Spread an even line of Pro-arte lash adhesive along the entire band, wait for 30 seconds until adhesive becomes tacky.Position the lash as close to natural lash as possible.Press gently particularly at the corners until lash adhesive dries.Remove: Gently peel the lash off lid, starting at the outer corner.Remove adhesive from band.Place lashes back on tray to keep shape for reuse.HighlightsGently fix band.How to'sApply: Spread an even line of Pro-arte lash adhesive along the entire band, wait for 30 seconds until adhesive becomes tacky. Position the lash as close to natural lash as possible. Press gently particularly at the corners until lash adhesive dries.
Remove: Gently peel the lash off lid, starting at the outer corner. Remove adhesive from band. Place lashes back on tray to keep shape for reuse.
Storage : Keep away from direct sunlight.
Warning: For external use only