Description
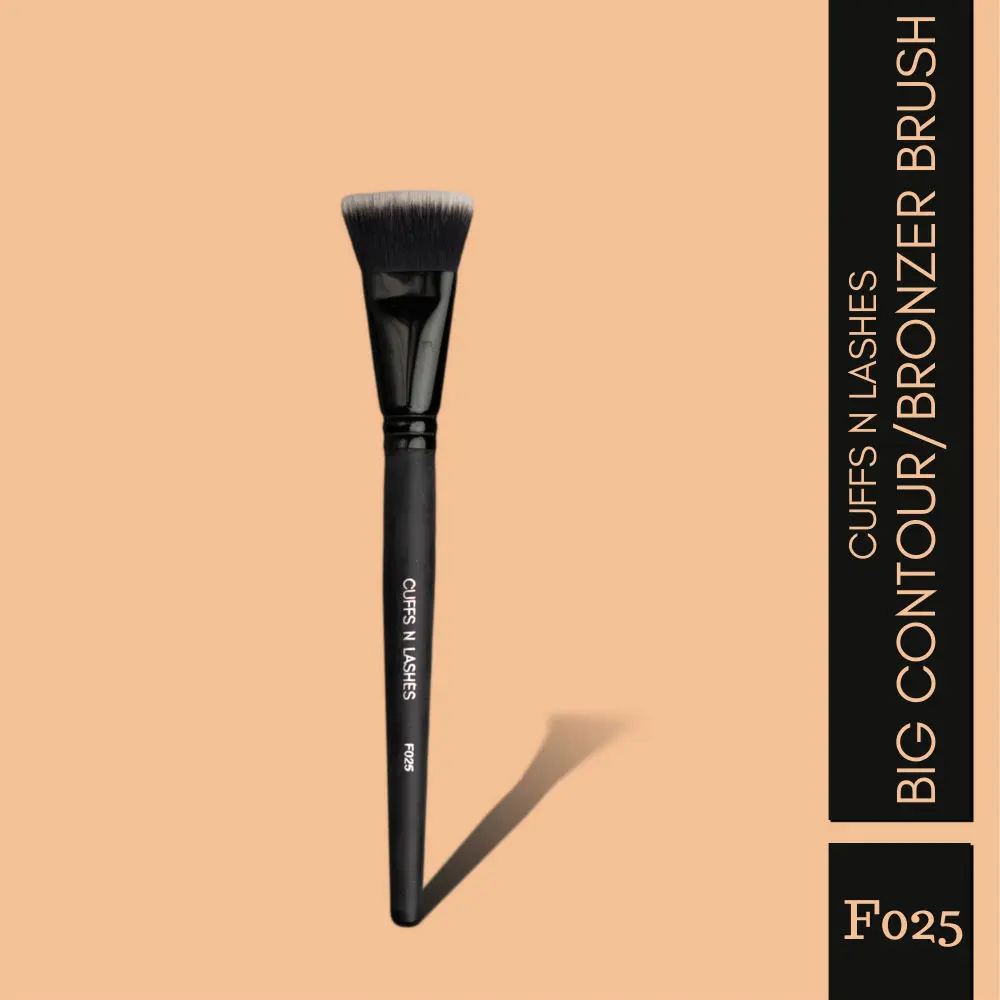
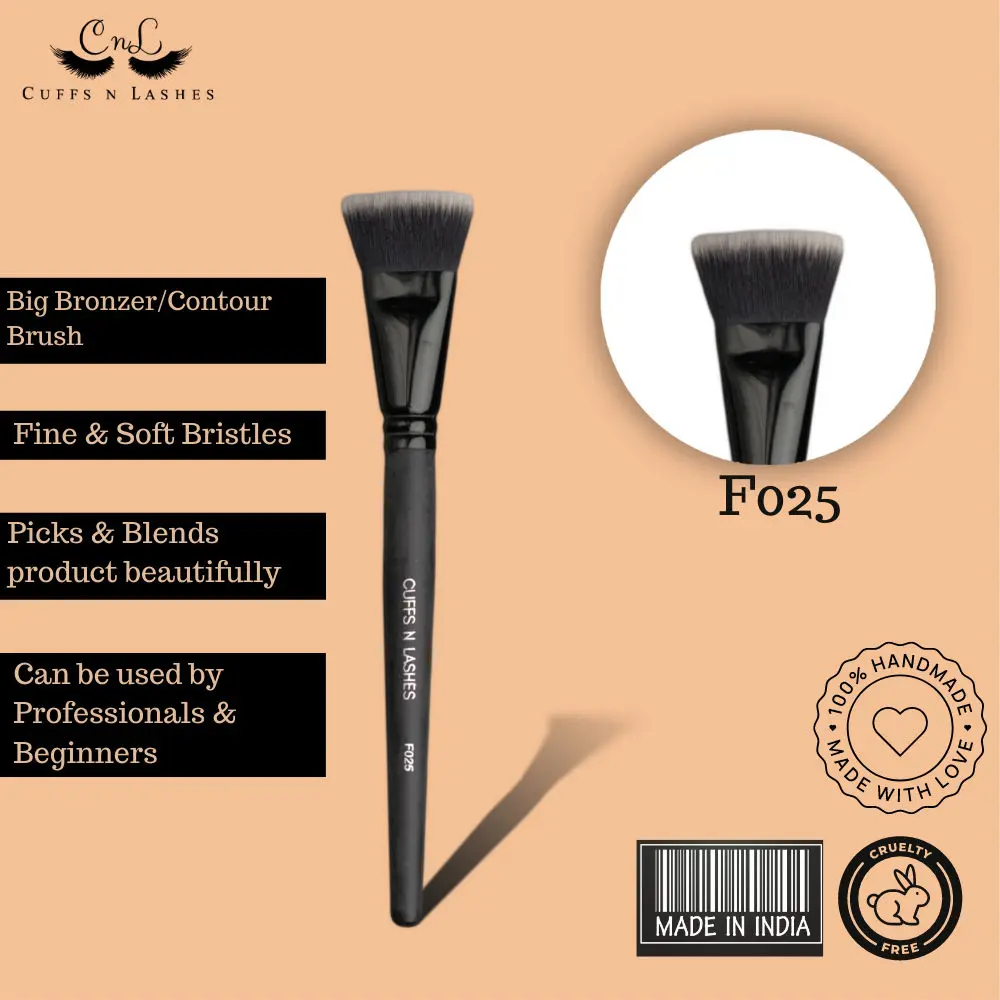
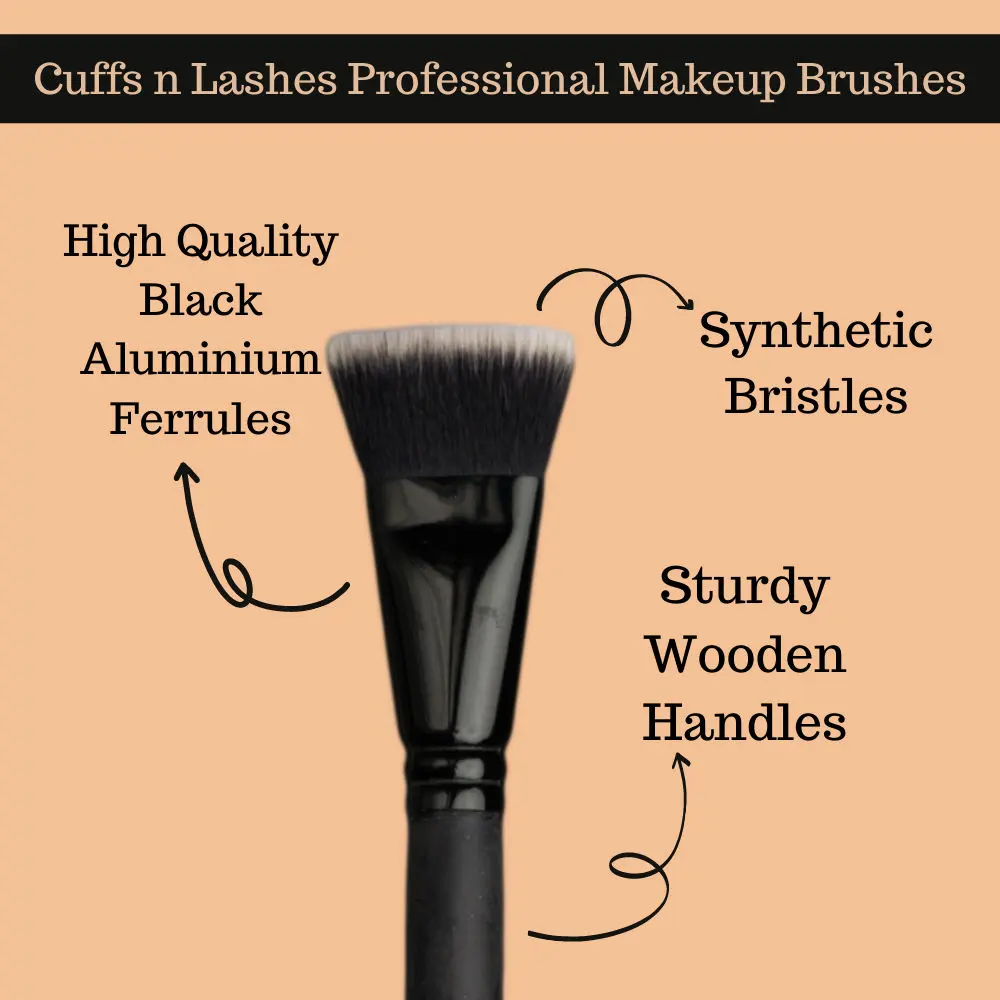
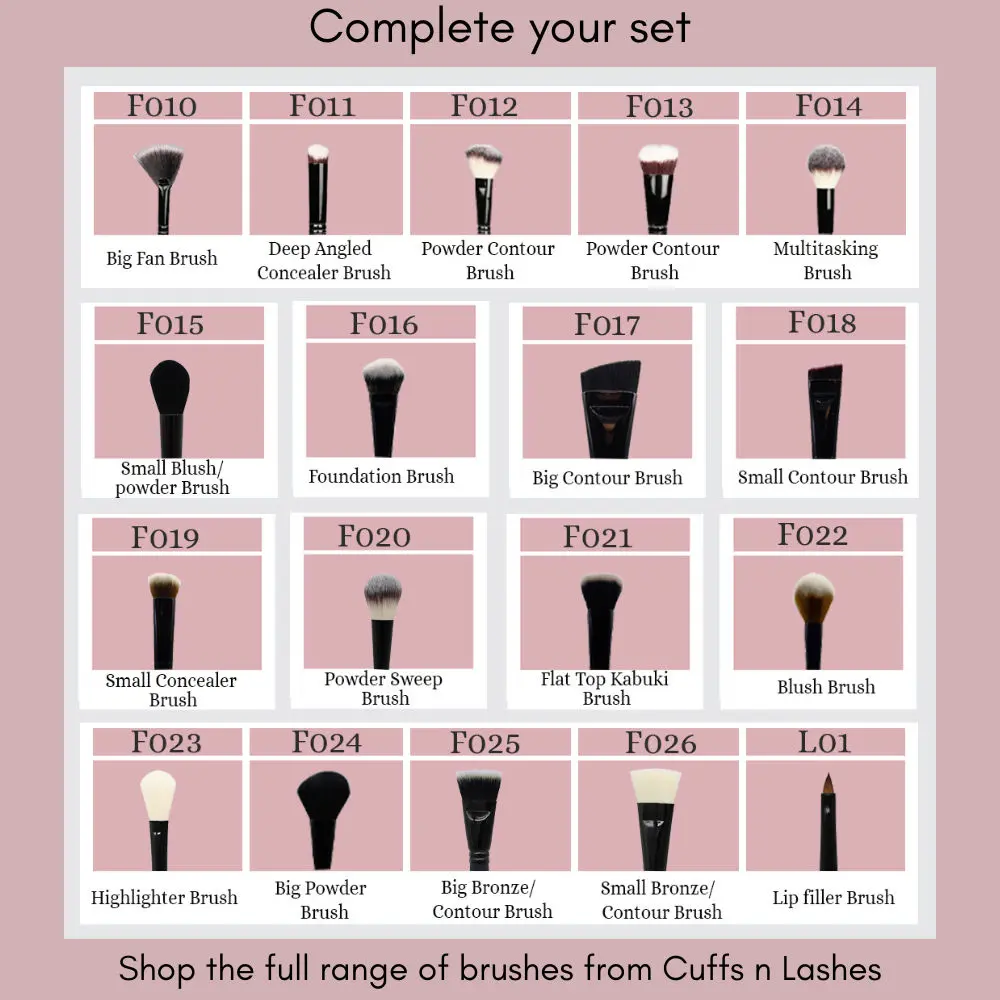
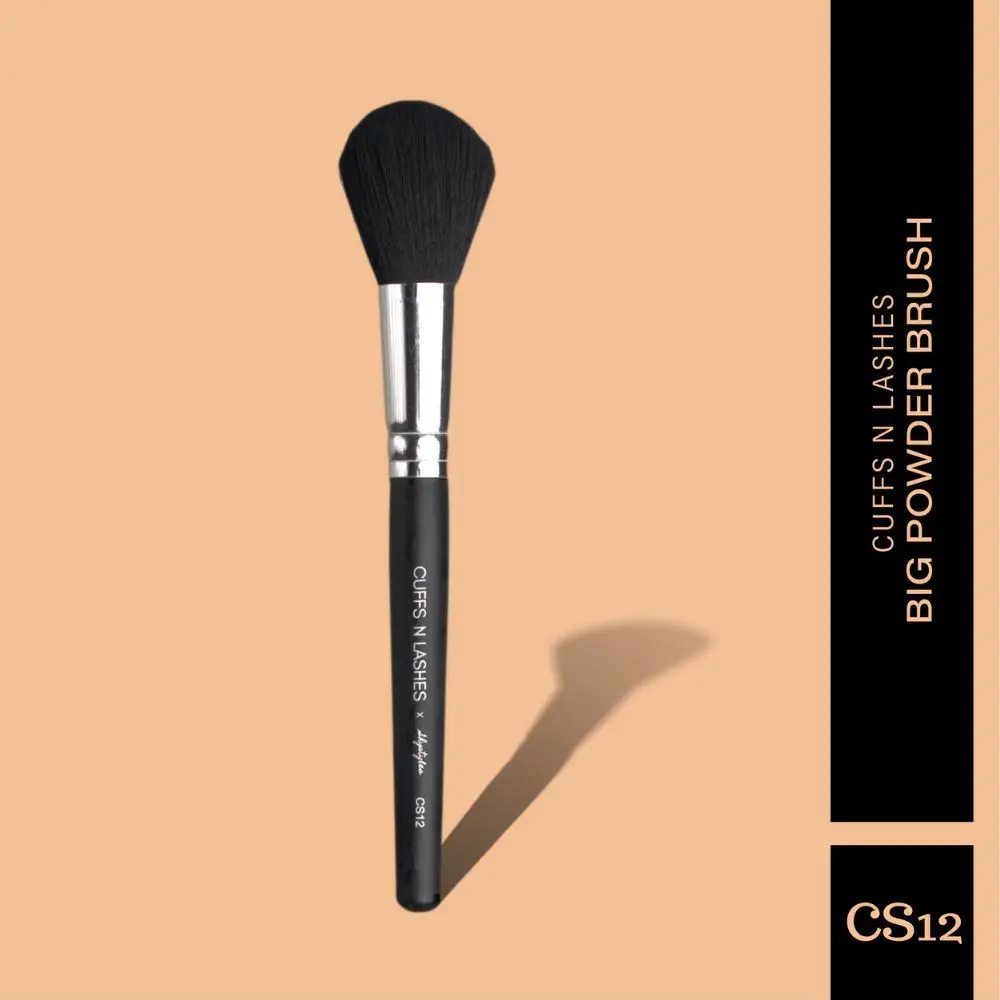
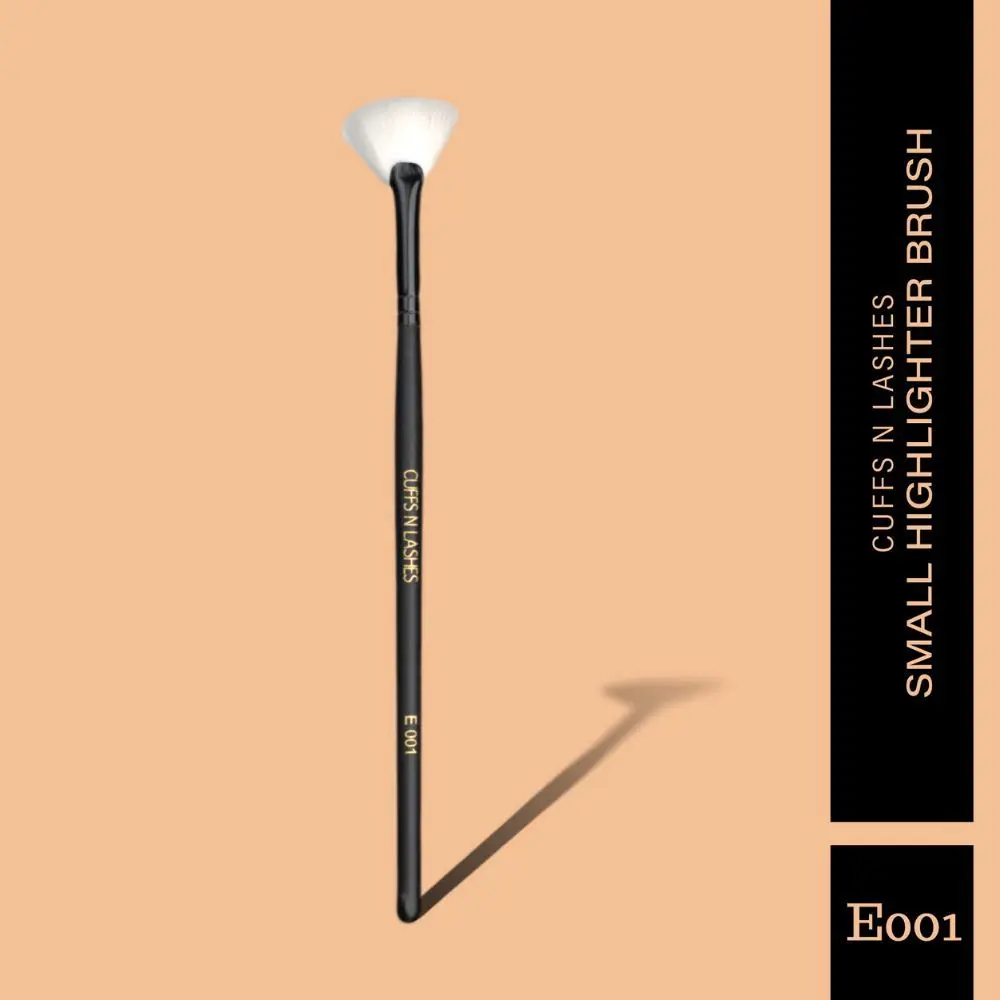
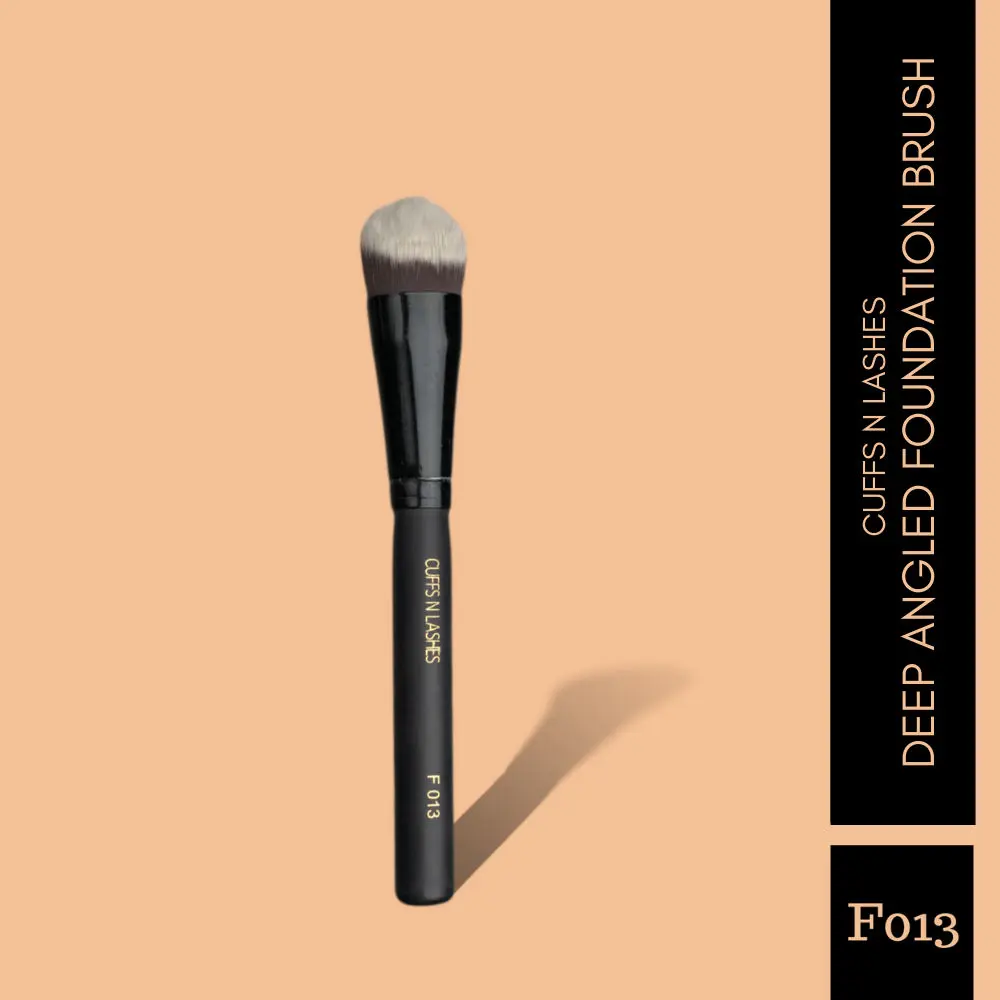
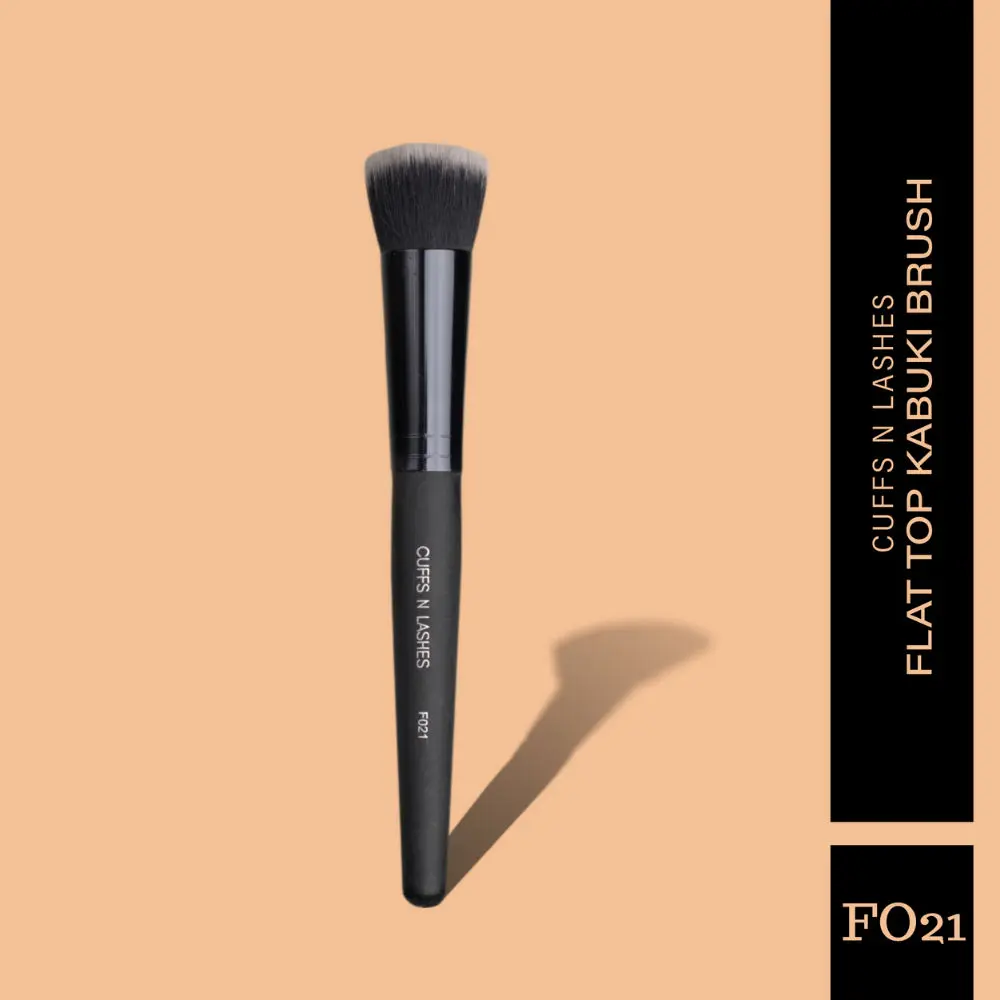
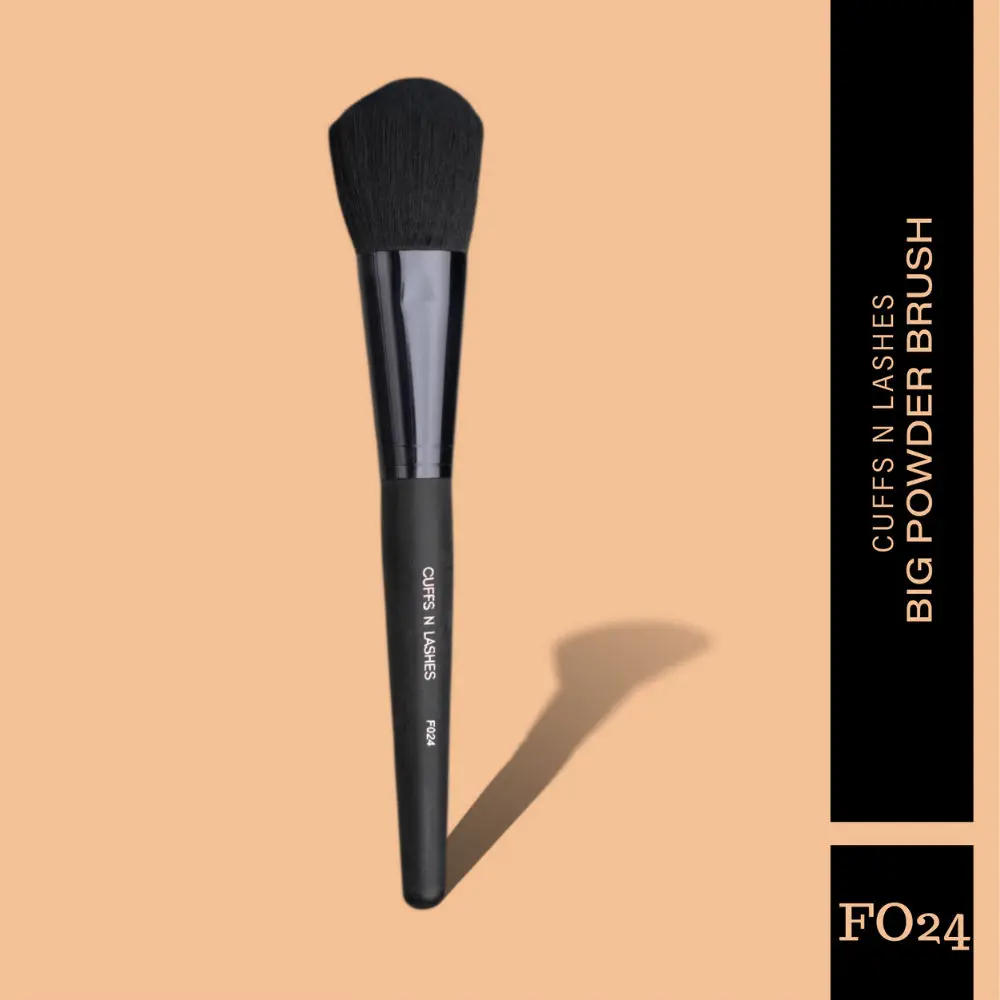
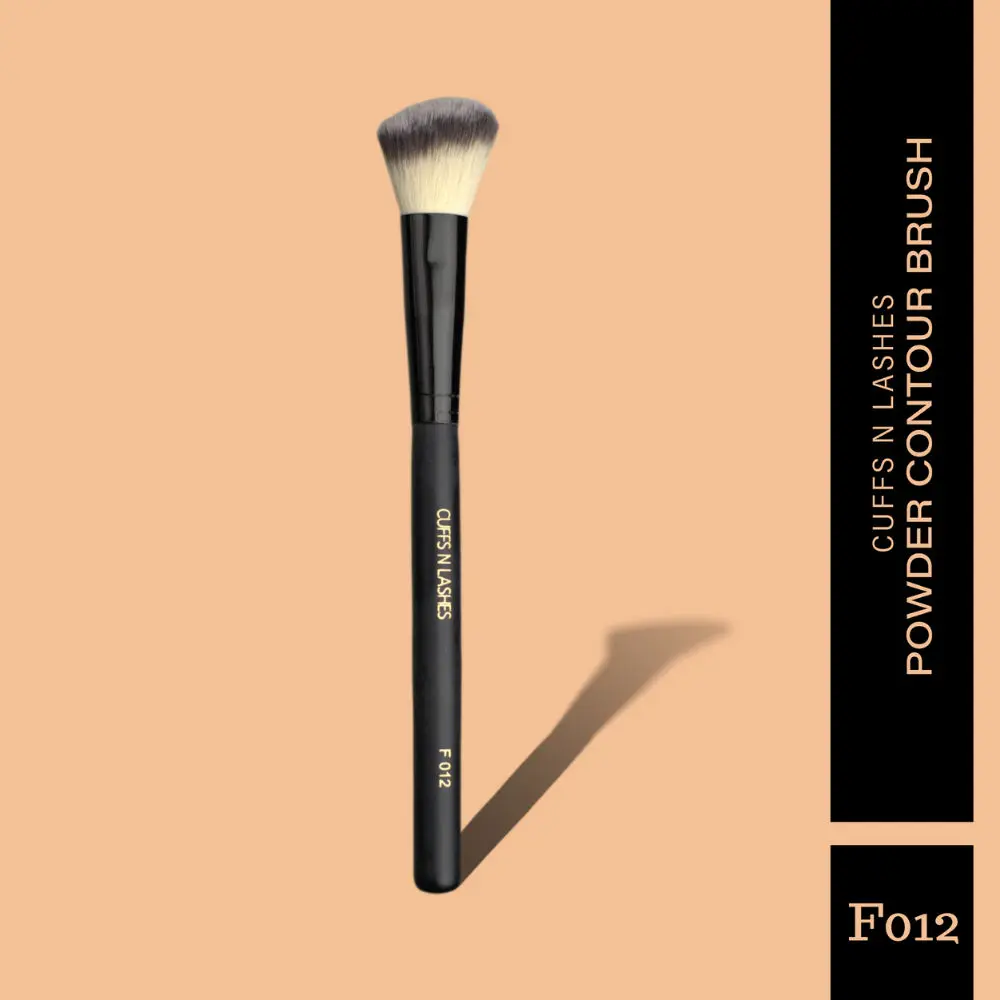
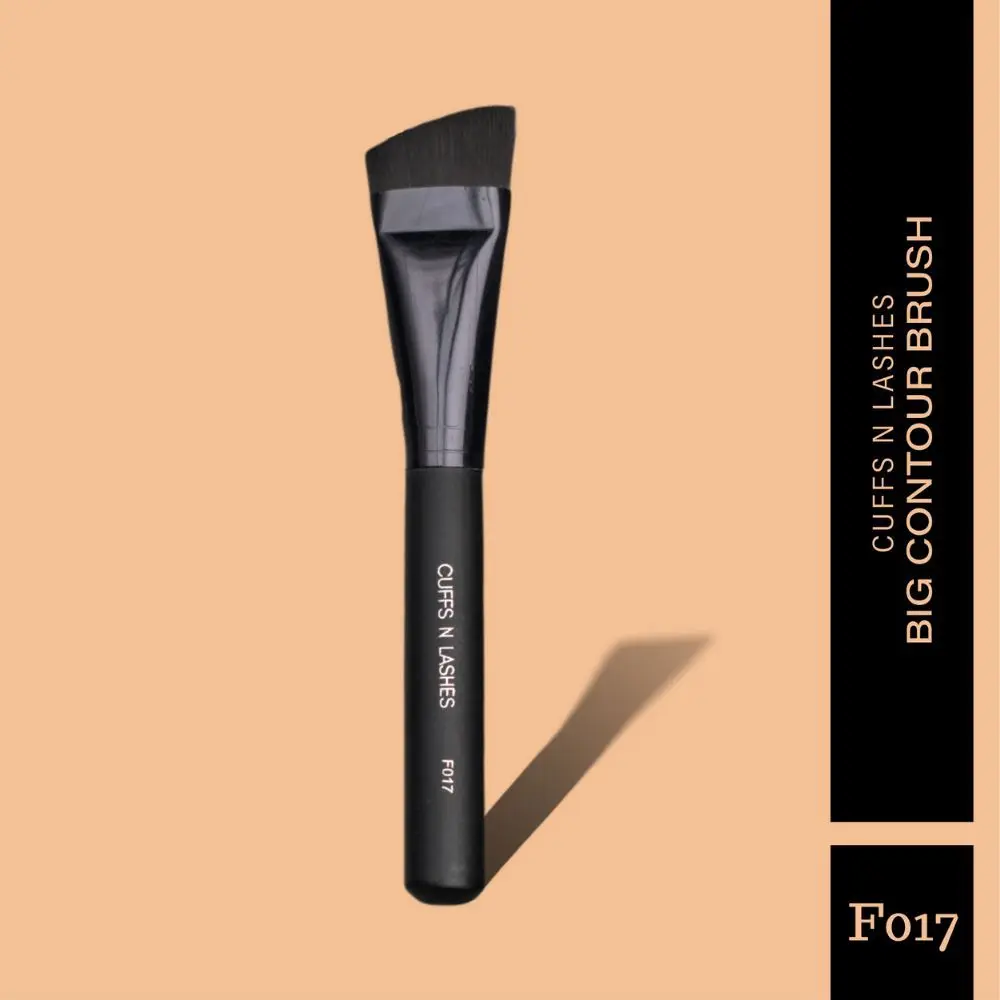
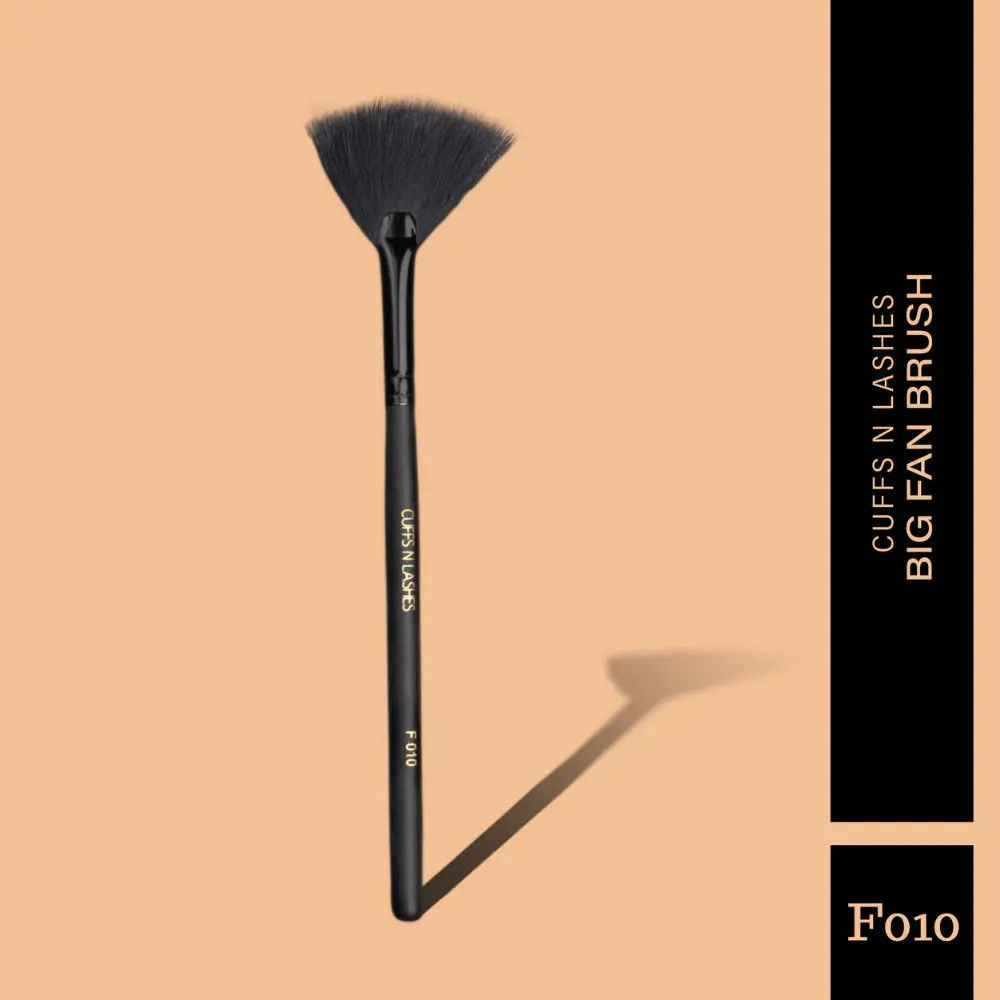
F025 BIG BRONZER/CONTOUR BRUSHContour Brush UseTo achieve angular, defined cheekbones and facial structure.Contour Brush GuideContouring is a makeup application skill every beauty lover should know, but one that takes practice to perfect. Worst-case scenario when youre attempting a good contour? Dark, unblended streaks. But weve got your back so youll never leave the house a two-toned nightmare.The first step is investing in a good angled contour brush, its important to use angled brushes rather than flat brushes because they allow you to follow the natural curves of your face.To get a contoured look, choose your dark contour color (this is the shadow” that will serve as a contrast to the highlight”). Usually, especially if youre fair skinned, you dont want to go too dark. Stick with a medium tone but take note: if its not dark enough, there wont be a contrast. You have to find that Goldilocks fit.So, youve got your darker contour color. Now, lets map out your face.If you want to minimize your forehead, trace the area with the angled contour brush near your hairline.Next, make a pout with your face. Just under your cheekbones, use the contour brush to apply the darker tone to the hollow beneath the apples of your cheeks.If you want to slim your chin, take the brush and make parentheses around it. And finally, add some darker lines on either side of your jaw bone. Now, your face should be mapped out with the darker contrast.The next step is to blend everything together. It sounds simple but its actually the most difficult and critical part of making the contour look as natural as possible.To blend you can use a powder brush, a kabuki brush or other full-fibered brush.The very last step is to add a highlighter to your cheeks, forehead, nose, chin and Cupids bow which can be applied with smaller brushes. Use general powder brushes for highlighting larger areas.Contouring brushes give you fine precision control over the angles with which you can achieve a Kardashian-level contour

